Drag Drive Simulator turn signal customization is the single fastest visual upgrade you can apply to any vehicle in the game, and it costs almost nothing compared to engine swaps. The indicator light panel lives inside the same mod shop where you handle paint, wraps, and neon underglow, so learning this menu once unlocks your entire cosmetic identity. According to the Drag Drive Simulator on Roblox listing, ADV Gamers Team released the RDID Revamp build that folded all lighting options into one unified garage tab, which means a few minutes inside the menu turns a stock starter into something that actually looks yours.
Understanding the DDS Mod Shop Lighting Menu
Every vehicle in Drag Drive Simulator routes through a single mod shop hub, and the lighting tab is where indicator work happens. The shop reads your current vehicle profile, lists the available lighting channels, and lets you toggle, recolor, and reorder each one before you save the preset to that specific car. Community testing on the RDID Revamp build suggests the lighting channels are split into Indicator Lights, DRL Strip, Headlight Beam, and Neon Underglow, which is a much cleaner layout than the pre-revamp menu had.
| Lighting Channel | What It Controls | Default Setting | Can Be Turned Off? |
|---|---|---|---|
| Indicator Lights | Front and rear turn signal flash | Amber, 1.0 Hz | Yes |
| DRL Strip | Daytime running light bar | White | Yes |
| Headlight Beam | Low/high beam color tint | Warm white | Yes (auto on at night) |
| Neon Underglow | Ground-projected neon lights | Disabled | Yes |
The Indicator Lights channel is the heart of drag drive simulator turn signal customization because it is the only channel that simulates a real-world hazard pattern, pulsing whenever you tap the left or right steer input. Players who ignore the channel end up with vehicles that look static even when they are drifting through corners, which removes half the personality that makes DDS car meets worth attending.
Why the Indicator Channel Matters at Car Meets
The RDID Revamp update placed several parking lot meet zones around the Indonesian-inspired city map, and the ones with the highest player density tend to be the spots where DRL and indicator choices are most visible. Reported by players in the ADV Gamers Team community, the parking deck near the central drag strip now hosts weekend shows where vehicles park in parallel rows, and the indicator preset decides how visible each car is from the second-floor walkway. A muted amber indicator blends into the warm street lighting, while a sharp cyan or magenta preset stands out against asphalt and reads clearly from fifty meters away.
Saving Presets Per Vehicle Versus Account-Wide
One subtle but important mechanic is that the mod shop saves your lighting preset to the individual vehicle profile, not to your account. That means you can run a stealthy black-and-amber look on your daily Honda Click commuter while keeping a full rainbow DRL setup on your Yamaha Aerox show bike, and the two will not interfere with each other. This is also why the Drag Drive Simulator pipe upgrade guide recommends always setting cosmetics on the vehicle you plan to drive that session, because cross-session inheritance is limited to engine tuning, not appearance.
Turn Signal Flash Rate, Color, and DRL Pairings
The indicator channel itself exposes three sub-sliders: Flash Rate (measured in Hz), Indicator Color (full RGB), and Indicator Brightness (0-100 percent). The flash rate is the most underused option because most players leave it at the default 1.0 Hz, but experienced builders know that pushing it to 1.4-1.6 Hz creates a more aggressive look that pairs well with neon underglow, while dropping it to 0.7 Hz produces a relaxed cruiser vibe that fits older sedan silhouettes. According to community data, the RDID Revamp build caps flash rate at 2.0 Hz to prevent seizure-triggering strobe effects, which is a sensible safety limit that still gives plenty of room for expression.
| Flash Rate | Visual Feel | Best Paired With |
|---|---|---|
| 0.5-0.7 Hz | Classic luxury sedan, relaxed cruiser | Chrome trim, warm white DRL |
| 1.0 Hz (default) | Stock daily driver, clean look | Any paint, neutral DRL |
| 1.3-1.6 Hz | Sport compact, tuner aesthetic | Neon underglow, dark wraps |
| 1.8-2.0 Hz | Show car, emergency responder look | Red/blue color combos, matte paint |
The Indicator Color sub-slider accepts any RGB value, and most players in the DDS Discord treat amber, cyan, magenta, and pure white as the four canonical choices. Amber is the safest because it is the closest to real-world turn signal behavior, which matters at busy intersections where players need to communicate intent quickly. Cyan and magenta are the two most popular off-meta choices, and they tend to win car meet polls because they pop against both daylight and the warm sodium street lighting that DDS uses at night. The Drag Drive Simulator all vehicles list confirms that every road-legal car and motorcycle in the game supports the full RGB range, so you are never locked out of an exotic color by vehicle choice.
Headlight Color and DRL Coordination
Drag drive simulator headlight color is technically a separate channel from the turn signals, but the two are visually adjacent at the front of the car, so they need to coordinate. The DRL strip sits in the headlight housing and runs whenever the engine is on, while the headlight beam only activates at night or in tunnel sections. Community testing suggests that matching your DRL color to your indicator color creates a unified front-end look, while offsetting them by one hue (for example, white DRL with cyan indicator) produces more visual depth. The default warm white headlight is the safest choice, but if you want to go for a JDM-style blue projector look, pushing the headlight beam color toward a 6500K cool white is the standard approach.
| Color Combo | DRL Strip | Indicator Light | Headlight Beam |
|---|---|---|---|
| Stock daily | Warm white | Amber | Warm white |
| JDM tuner | Cool white | Cyan | Cool white |
| Sport compact | Magenta | Amber | Cool white |
| Stealth build | Disabled | Red | Warm white |
Neon Underglow as the Third Layer
Drag drive simulator neon lights are the final lighting layer, projected onto the ground beneath the chassis, and they read strongest at night or in the underground parking garage near the Barista cafe job. Neon underglow is fully RGB and has its own brightness slider, which means you can run a bright magenta underglow with a muted amber indicator for a layered look, or you can sync both to the same color for a monotone aesthetic. Reported by players, the most popular combo at the weekend car meet is a deep purple underglow with a 1.4 Hz amber indicator, because the warm-cool contrast photographs well in the in-game camera mode.
Paint Color, Vehicle Wraps, and Suspension Height Combos
Lighting is only half the customization equation, and the mod shop also handles Drag Drive Simulator paint color, vehicle wrap patterns, and suspension height adjustments, all of which interact with your lighting choices. The paint tab exposes a base color slider, a metallic slider, and a pearlescent slider, while the wrap tab lets you overlay vinyl patterns on top of the base paint. The suspension tab is a different beast entirely because it changes the ride height, which in turn changes how much of your neon underglow is visible from a side profile. Lowering the car hides the underglow against the asphalt, while raising it exposes the full ground projection, which is something to keep in mind if you are building specifically for car meet screenshots.
| Combo Theme | Paint | Wrap | Suspension | Lighting |
|---|---|---|---|---|
| Stealth | Matte black | None | -2 (lowered) | Red indicator, no underglow |
| JDM tuner | Pearl white | Carbon fiber | Stock | Cyan indicator, blue underglow |
| Street racer | Gloss red | Tribal pattern | -1 | Amber indicator, red underglow |
| Daily commuter | Solid grey | None | Stock | Amber indicator, no underglow |
The Drag Drive Simulator car paint guide workflow that experienced builders follow is to set the base paint first, then layer the wrap on top, and only adjust lighting after both are locked in. This is because wrap patterns can clash with bright DRL strips, and a busy vinyl design tends to wash out the indicator pulse. If you want the indicator to read clearly at distance, keep the wrap minimal (or skip it entirely) and let the lighting carry the visual identity. For riders who are still deciding which car to drive, the Drag Drive Simulator fastest car breakdown shows that the Yamaha Aerox and similar sport bikes have smaller body panels, which means wraps show up more clearly but lighting takes up a proportionally larger share of the visible silhouette.
Suspension Height and Its Effect on Lighting
Drag drive simulator suspension height is the most underrated cosmetic slider because most players only think of it in terms of handling. In practice, the suspension setting is the single biggest factor in how much of your neon underglow is visible, because the ground projection cone widens as the chassis rises. A car at -2 (fully lowered) compresses the underglow cone into a tight halo directly beneath the car, while a car at +2 (lifted) projects the neon out several meters to either side. For car meet builds, the community recommendation is to keep suspension at stock or +1, because that range gives the best balance between stance and lighting visibility. For drag racing builds where underglow does not matter, dropping to -2 is a valid aerodynamic choice, though DDS does not simulate true downforce so the benefit is purely visual.
Budgeting Your Customization Across a Garage
Most players start Drag Drive Simulator with a single starter vehicle and gradually expand their garage as they earn money from jobs like RideGO rideshare and the Barista cafe role. According to community data, a fully kitted-out cosmetic build (paint, wrap, full lighting suite, and suspension) costs roughly the same as a mid-tier engine upgrade, so it is worth planning which vehicle gets the premium treatment. The Drag Drive Simulator money making guide covers the fastest farming routes, but the short version is that saving up for cosmetics on one favorite vehicle tends to be more satisfying than spreading thin upgrades across five different cars you rarely drive.
Step-by-Step: Building a Complete Turn Signal Preset
Below is a practical, repeatable workflow that you can follow inside the mod shop to lock in a turn signal preset that holds up at car meets, drag strips, and daily commutes. Each step assumes you are inside the RDID Revamp mod shop with the vehicle you want to customize selected, and the time estimate is based on community-reported averages for a new player learning the menu layout.
| Step | Action | Time Estimate |
|---|---|---|
| 1 | Drive into the mod shop garage and select your vehicle | 30 seconds |
| 2 | Open the Lighting tab and select Indicator Lights | 15 seconds |
| 3 | Set Indicator Color via the RGB slider | 30 seconds |
| 4 | Adjust Flash Rate to your preferred Hz | 15 seconds |
| 5 | Set Indicator Brightness to 70-90 percent | 10 seconds |
| 6 | Sync DRL Strip color to either match or offset the indicator | 30 seconds |
| 7 | Adjust Headlight Beam color if desired | 20 seconds |
| 8 | Toggle Neon Underglow on and pick a color | 30 seconds |
| 9 | Adjust suspension height to match your stance goal | 15 seconds |
| 10 | Save the preset to the vehicle profile | 10 seconds |
The full workflow takes about three to four minutes once you are familiar with the menu, and the first time through you should budget closer to eight to ten minutes while you experiment. Reported by players, the most common mistake is adjusting the indicator color and forgetting to set the flash rate, which leaves the default 1.0 Hz pulse running and undermines the custom look. A good rule of thumb is to set the color first, then the rate, then the brightness, in that order, because each setting feeds into the next visually.
Common Mistakes to Avoid
The fastest way to ruin a turn signal preset is to push the indicator color into a desaturated range that does not read clearly at night. Browns, dark greens, and muted oranges tend to disappear against the asphalt and the warm street lighting, so even though they look interesting in the mod shop preview, they vanish in actual gameplay. The second most common mistake is leaving the DRL strip at warm white while setting the indicator to a cool color, because the warm-cool clash creates a muddy front-end look that does not photograph well. Finally, avoid running the indicator at full 100 percent brightness during daylight hours, because the over-bright pulse washes out the color and reduces the visual contrast that makes turn signal customization worth doing in the first place.
Saving and Sharing Presets
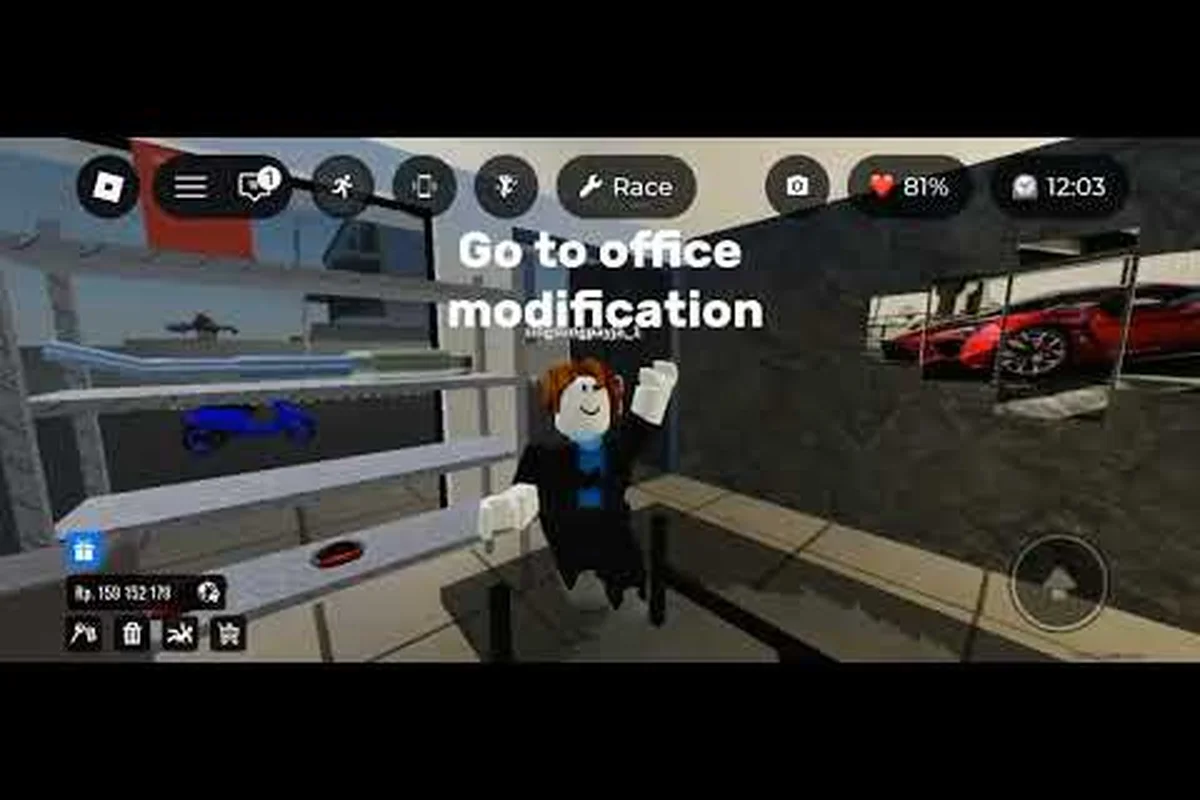
As of the RDID Revamp build, the mod shop does not expose a built-in preset share code, which means the only way to copy a lighting setup between vehicles is to manually re-enter the same RGB and Hz values. Community-run Discord servers have started compiling public preset sheets where players list their favorite combinations, and a few YouTube creators have posted showcase videos with their exact settings displayed on screen. One useful reference is the Radex Tips exhaust swap video, which walks through the mod shop menu in detail and is a good visual guide for first-time customizers who want to see the layout before they commit.
Frequently Asked Questions
Does turn signal customization affect drag race performance?
No, the indicator light channel is purely cosmetic and does not modify any handling, acceleration, or top speed stat. You can run any combination of colors, flash rates, and brightness without affecting your quarter-mile time, which is why most drag racers focus on engine and tire upgrades first and treat lighting as a post-build reward.
Can I turn off the indicator pulse entirely?
Yes, the mod shop lets you toggle the Indicator Lights channel off, which removes the pulse but also removes the visual feedback when you steer. Most players keep the channel on at a low 0.7 Hz and a muted color so the indicator still reads as a turn signal without being visually distracting, and you can always re-enable the full effect later from the same menu.
How do I make my neon underglow visible during the day?
The neon underglow channel is brightness-dependent, and daytime lighting in DDS is bright enough that you need to push the brightness slider to at least 80 percent to see the ground projection clearly. Underground parking garages, tunnel sections, and night-time drag strips are the three map areas where neon reads strongest, so consider where you plan to show off the build before committing to a heavy underglow setup.
Is there a difference between DRL color and headlight color?
Yes, the DRL strip is a separate light bar inside the headlight housing that runs whenever the engine is on, while the headlight beam is the main forward-projecting light that activates at night. You can run a cyan DRL with a warm white headlight for a layered look, or match both to the same color for a monotone front-end, and both channels are saved independently in the mod shop preset.
Will my turn signal preset carry over if I buy a new car?
No, presets are saved per-vehicle rather than per-account, so each new car starts with the default amber 1.0 Hz setup and you have to re-enter your custom settings inside the mod shop. The fastest way to handle this is to keep a written note of your favorite RGB and Hz values, or screenshot the mod shop panel after you finish a build, so you can quickly replicate the look on your next vehicle.